Did You Know?
The navigation bar will appear on the left side when on a PC or Mac, and on the right side when on a mobile device.
On mobile, you may see a hamburger menu to expand the navigation: ![]()

When first loaded, the menu will be collapsed. Here we are looking at the PVA – All section
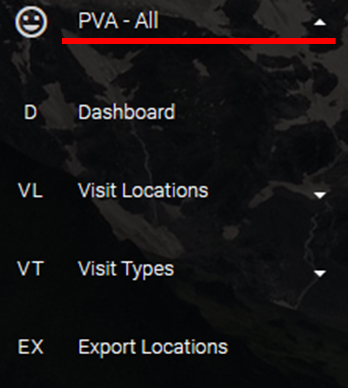
Clicking the triangle will expand the menu to reveal the sections available to you.
Export Locations – Open a page that displays the QR Codes/barcodes available to print, stick, and scan.
Dashboard – High-level view of activities and status of Patient View and Discharge Room Assessments.
Visit Locations – A collapsed menu that, when expanded, will display the options for Locations
Visit Types – A collapsed menu that, when expanded, will display the options for Location Types

Clicking the triangle to expand the “Visit Locations” menu will reveal additional sections.
Bulk Add Locations – Add multiple Locations into the system with a single upload
List Locations – Displays all the Locations available in the system with some detail.
Add 1 Location – Access the form to add 1 new Location to the system.
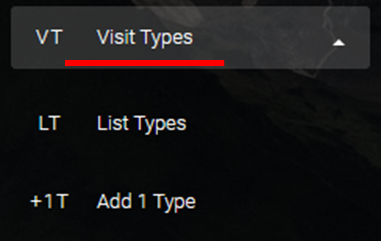
Clicking the triangle to expand the “Visit Types” menu will reveal additional sections.
Add 1 Type – Access the form to add 1 new Location Type to the system.
List Types – Displays all the Location Types available in the system with some detail.