This is the vendor technician’s side of Vendor Reporting. There is no app to install and no login. The technician scans the QR code posted at your site with their phone camera, fills in a short form, and taps Complete Visit. The visit appears on your Visits page right away. Feel free to send this page to your vendors.
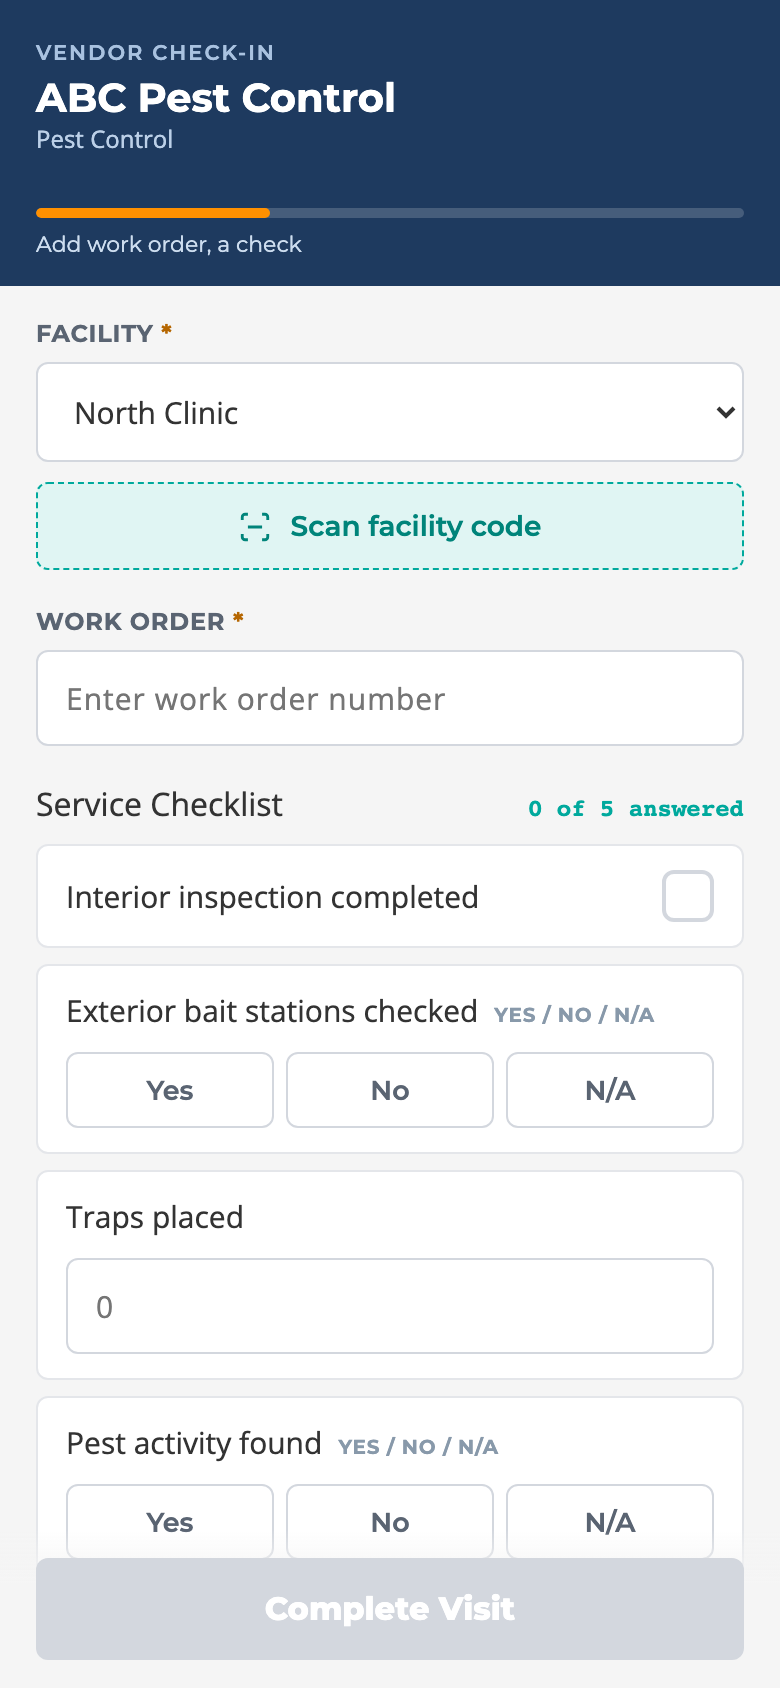
After scanning a facility code. The facility is already filled in.
How to log a visit (facility code)
Open the phone camera and point it at the DHCS · VDR code posted at the site. Tap the link that pops up. The Vendor Check-In page opens with your company name at the top.
The phone may ask to allow location. Allowing it is optional; the form works either way.
Facility is already set to this site. Leave it.
Type the Work Order number. This is required.
Work through the Service Checklist. Each item is one of:
a checkbox: tap the item once to mark it done, tap again to clear it;
Yes / No / N/A buttons: tap one;
a number box: type the count;
a short text box: type a few words.
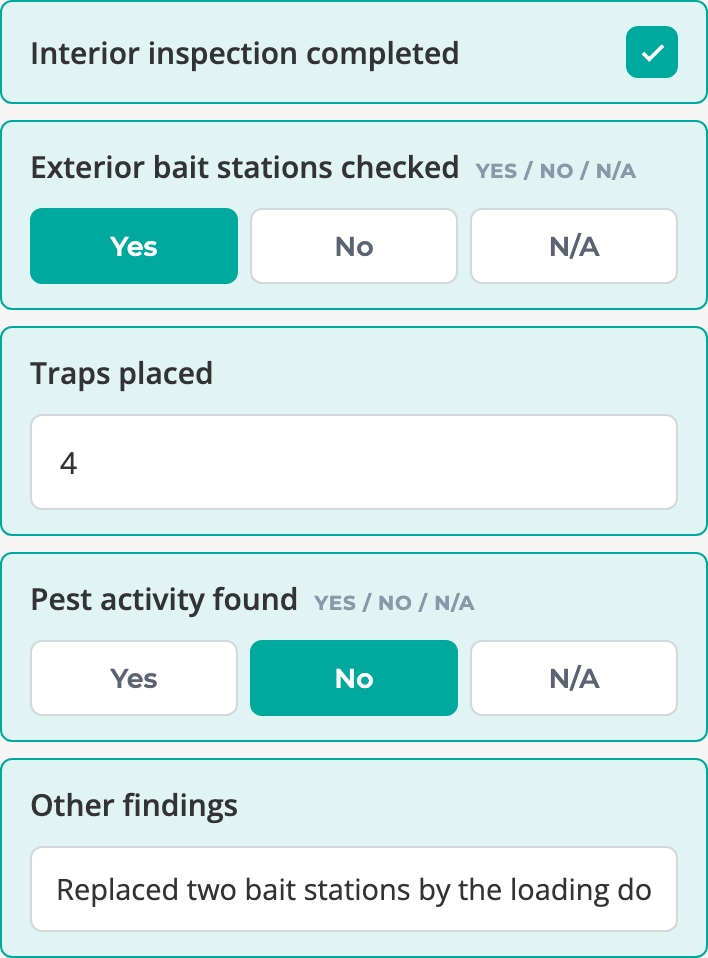
The counter at the top right of the checklist (“3 of 5 answered”) keeps score. Answered items turn green.
Answered items turn green.
Add anything the site should know in Notes (optional).
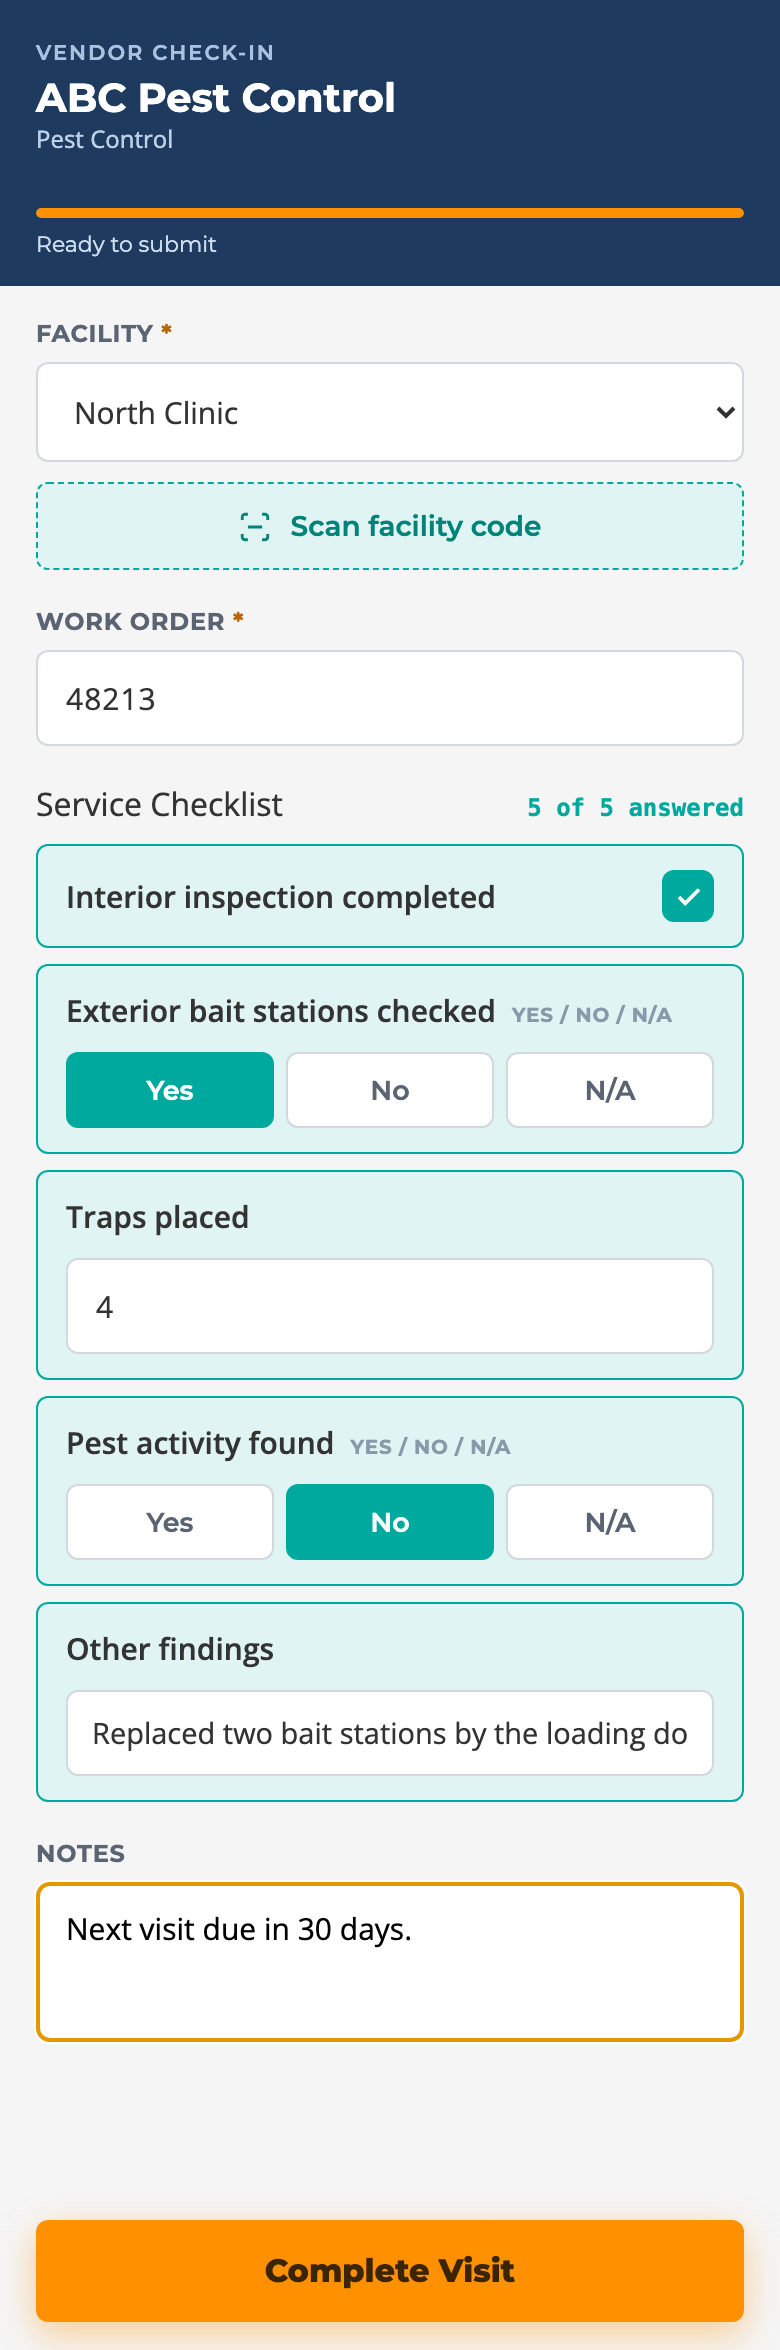
When the progress bar at the top reads Ready to submit, tap Complete Visit. The button stays grey until you have a facility, a work order and at least one checklist answer.
Complete Visit lights up when the form is ready.
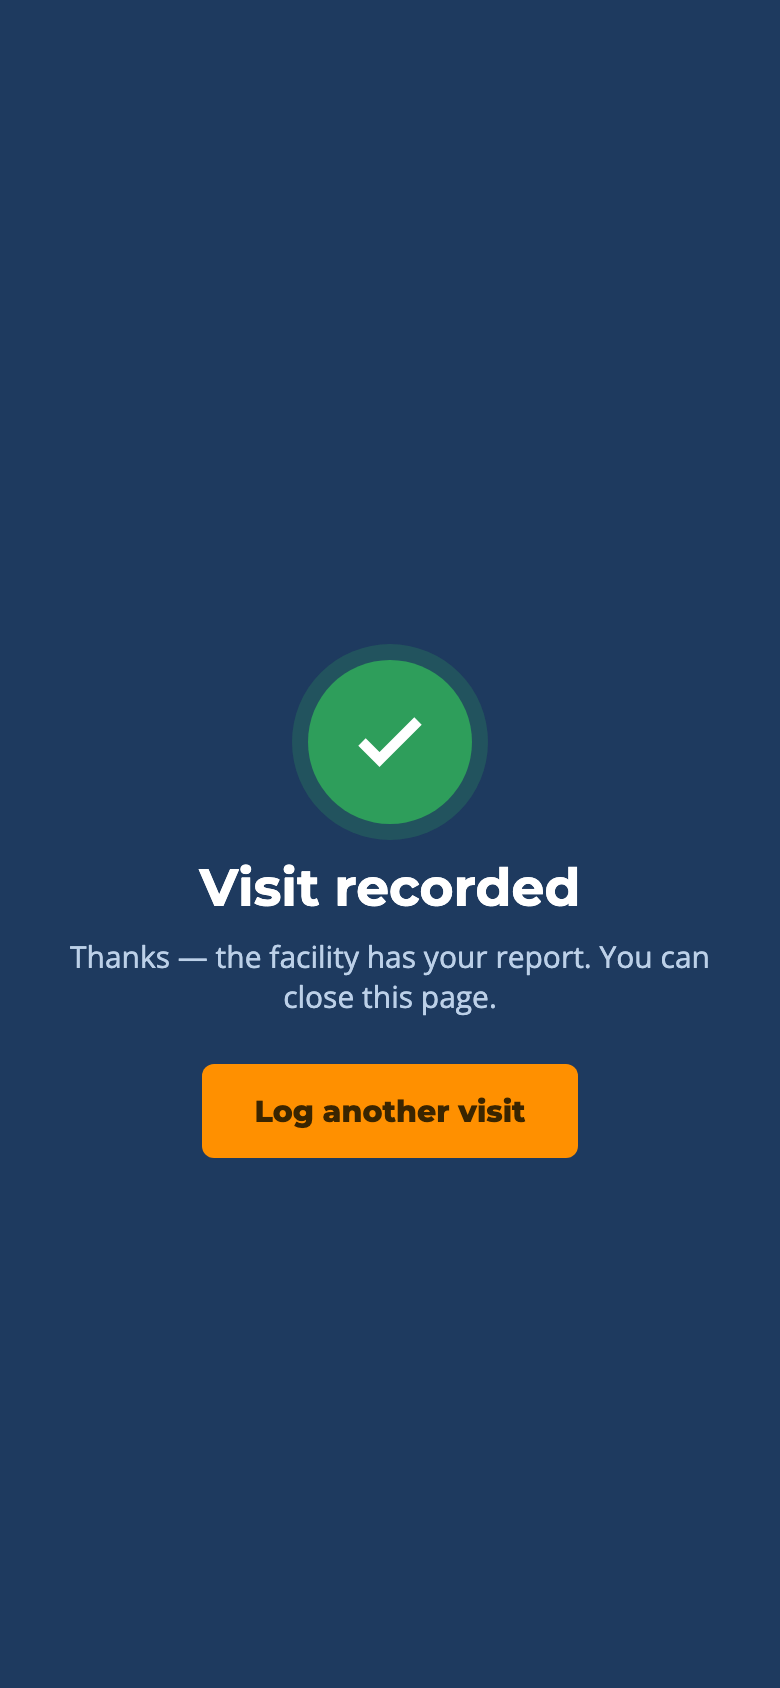
You see Visit recorded. You are done and can close the page, or tap Log another visit for the next site.
Done. The facility has the report.A finished form, top to bottom.
How to log a visit (vendor code)
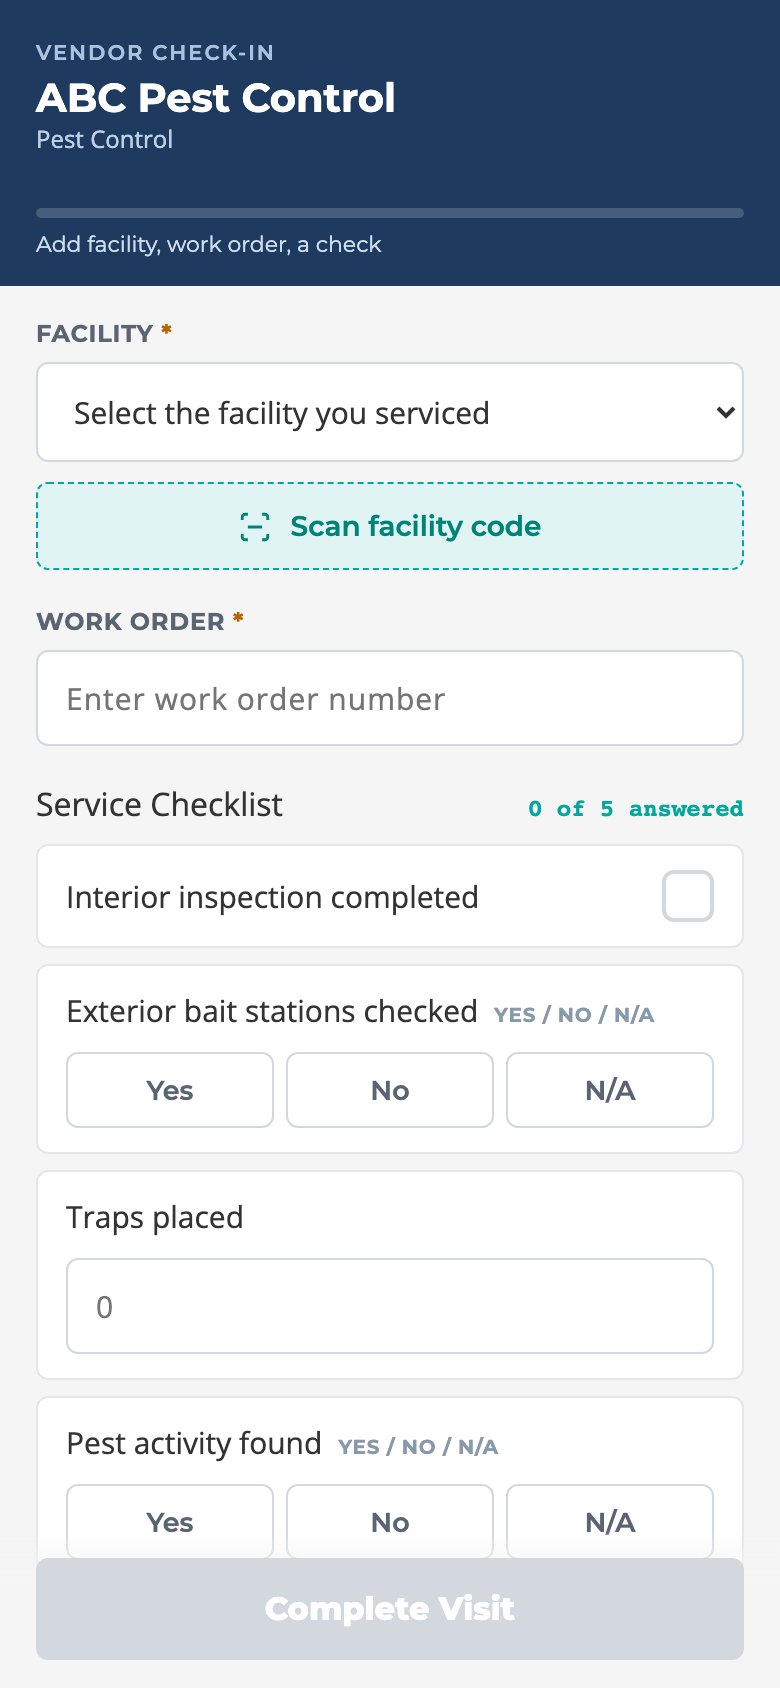
If the technician scans the vendor code instead (the one that covers all sites), the form is the same except the Facility box starts empty and reads “Select the facility you serviced”.
Tap the Facility dropdown and pick the site.
Or tap Scan facility code, allow the camera, and point it at the facility’s posted code. The site is selected for you.
Continue with the work order and checklist as above.
From the vendor code, the technician picks the site first.
What the progress bar tells you
The orange bar under the vendor name fills as the three required pieces come in: a facility, a work order, and at least one checklist answer. The text underneath lists what is still missing, for example “Add work order, a check”. When everything is in it reads “Ready to submit”.
Good to know
Tapping Complete Visit twice does not create two visits. The form is protected against double taps.
Items you skip are simply left blank on the facility’s record. Answer what applies.
The work order can be up to 40 characters; notes up to 500.
If the page says “This vendor link is not valid”, the code is for a vendor or site that has been retired. Ask the facility contact for a current code.
If Scan facility code cannot open the camera, just pick the site from the dropdown.
Who can do this
Anyone with the QR code. The technician does not need a DHC Systems account. The visit is tied to your company through the code itself.