A QA takes about a minute on a phone. Scan the employee’s badge code, the eQA form opens with their name and checks, tap Sat, UnSat or NA for each one, add a note or photo if you want, and tap Submit. No login is needed on the phone; the code identifies the employee and you identify yourself on the form.
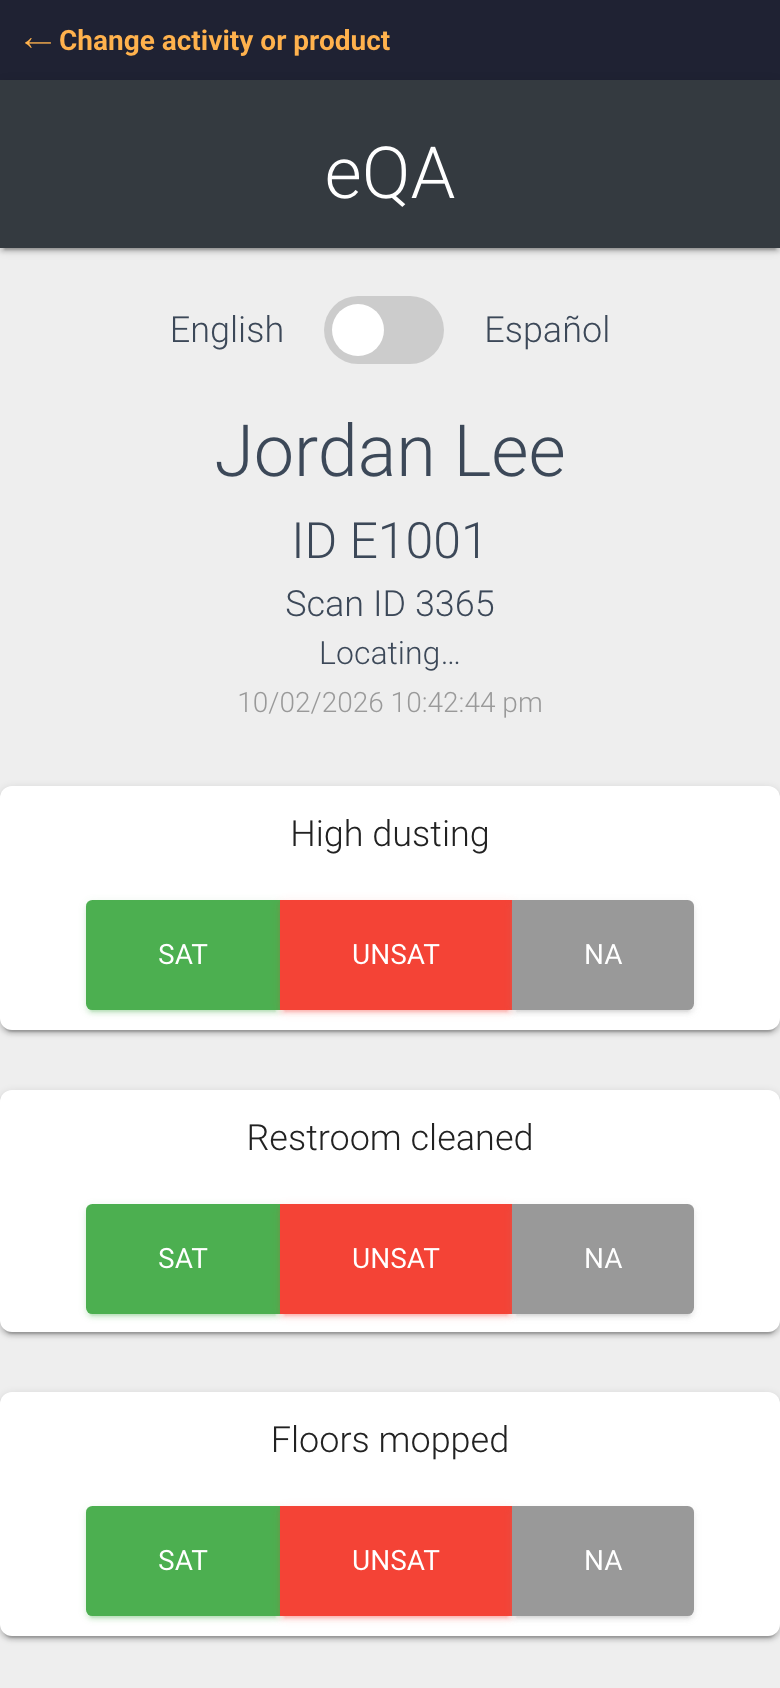
The form opens on the employee’s name, ID and the time
How to complete a QA
Open the camera on your phone and point it at the employee’s code. Tap the link that pops up.
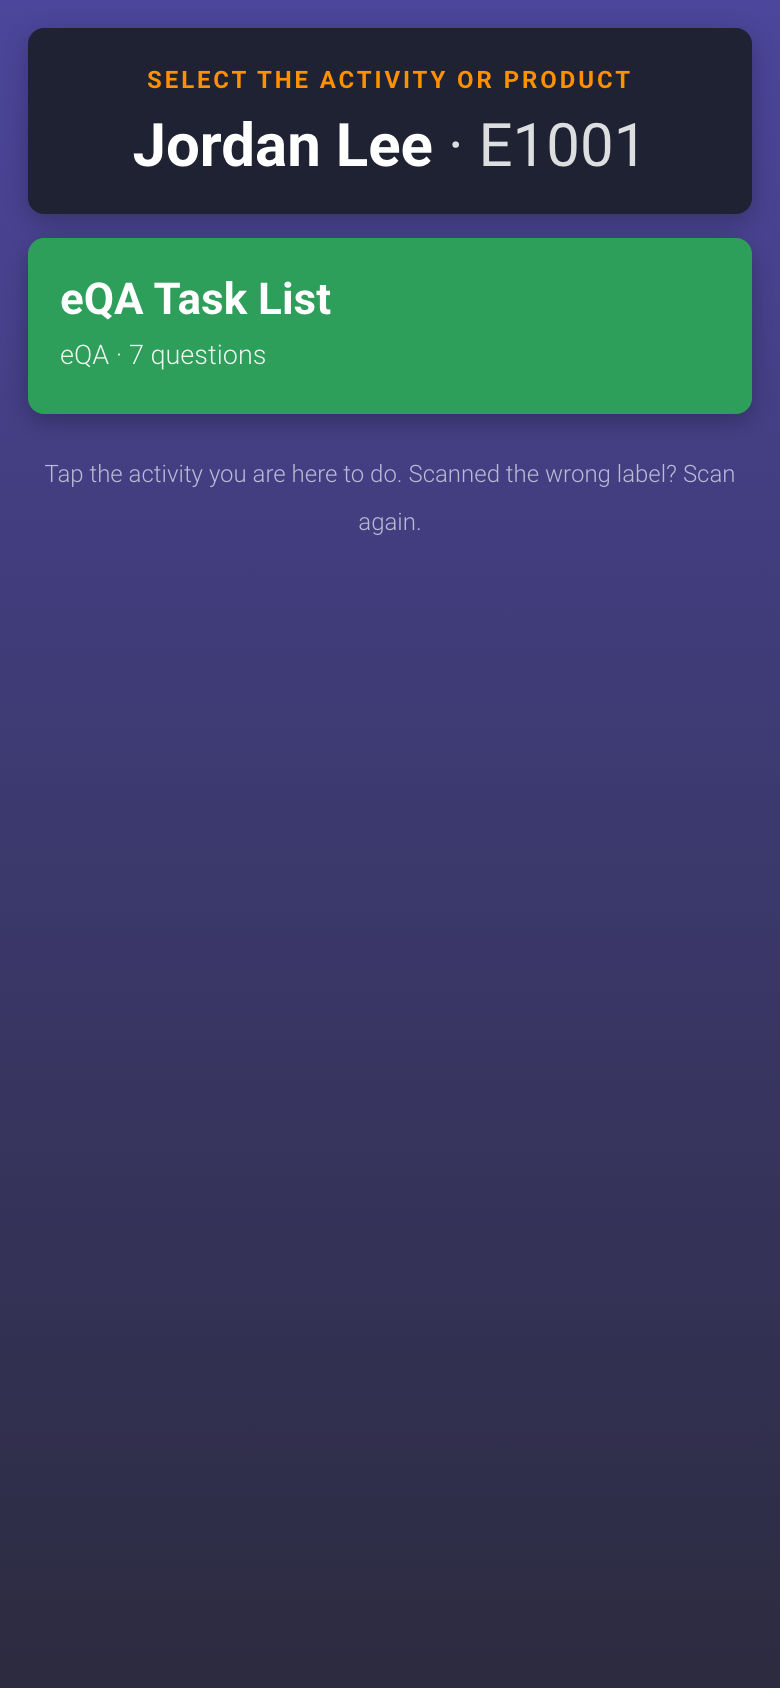
If the code is a uCode and eQA is the only product on it, the eQA form opens straight away. If the person has more than one product, you get a short menu first: tap eQA Task List.
The menu you see when a code opens more than one product
Check the name and ID at the top. Wrong person? Tap ← Change activity or product at the very top or just scan again. Need Spanish? Tap the English / Español switch.
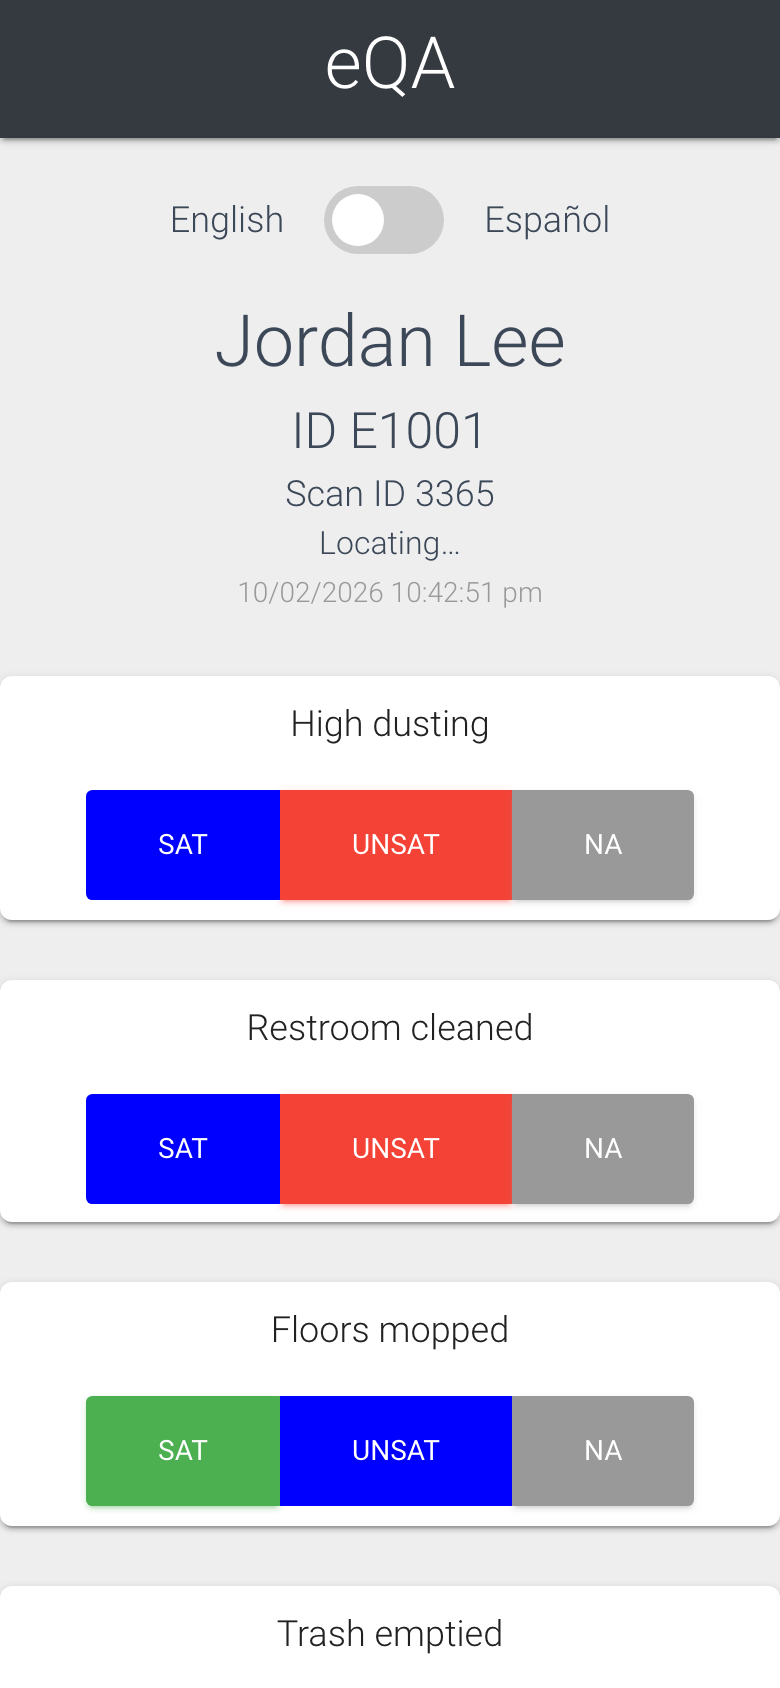
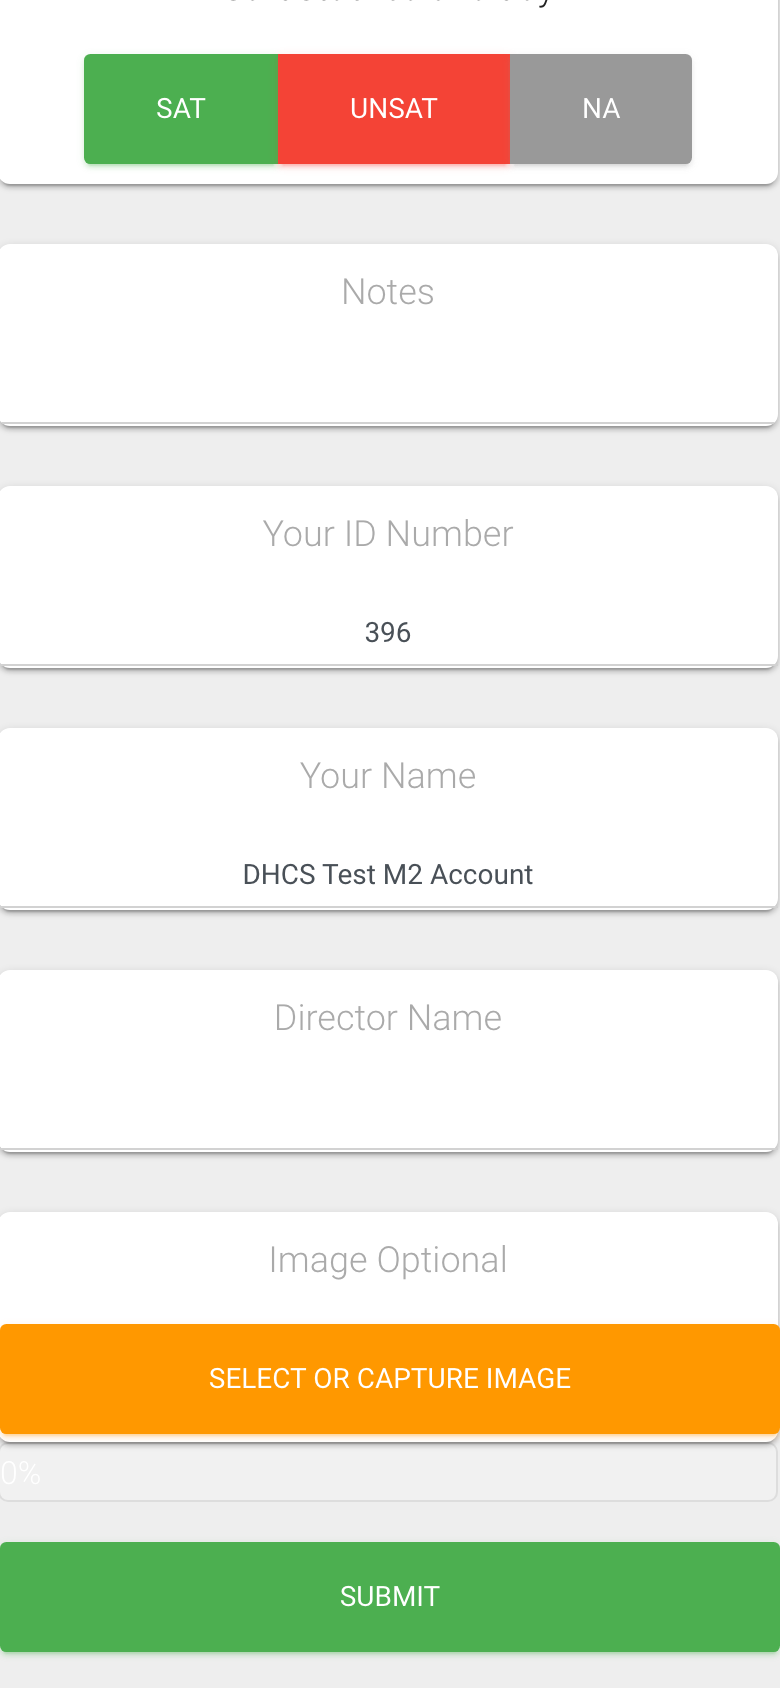
For each check, tap Sat (satisfactory), UnSat (unsatisfactory) or NA (not applicable). Your choice turns blue. You can change it by tapping another button.
Tap one answer per check; the chosen one turns blue
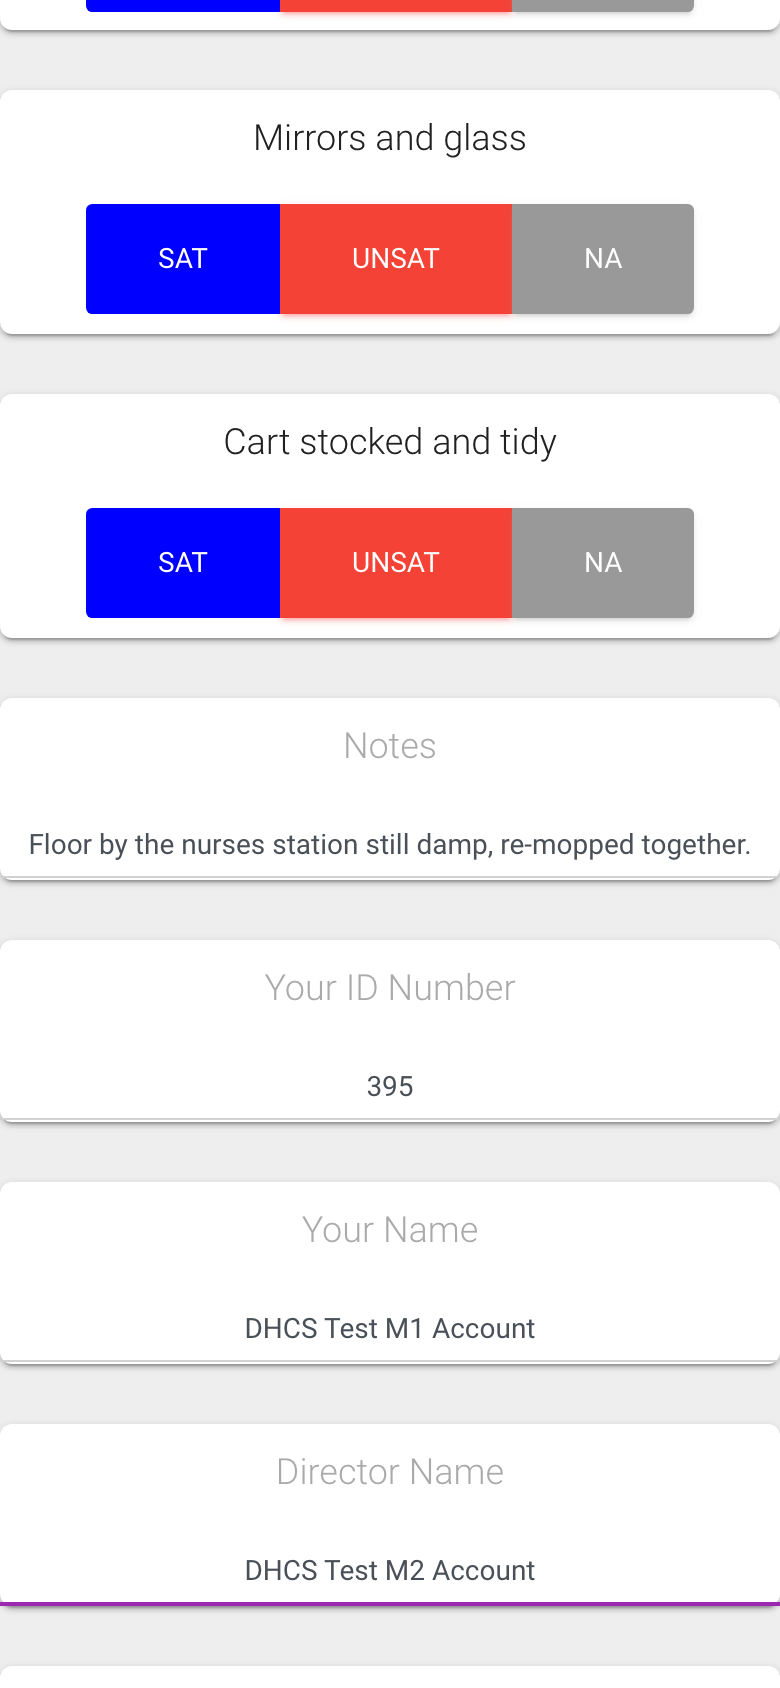
Scroll down. Type anything worth remembering in Notes, especially for an UnSat.
Check Your ID Number and Your Name. They are prefilled with the manager on the employee’s record; change them if that is not you. Director Name is prefilled the same way.
Notes, your ID and name, and the director
Want a photo? Tap Select or Capture Image, take the picture or choose one, and the file name appears next to the button. If your company requires a photo the label reads Image Required in red and the button says Open Camera.
Tap Submit. The bar above the button shows the upload progress.
Photo is optional unless your Director turned it on
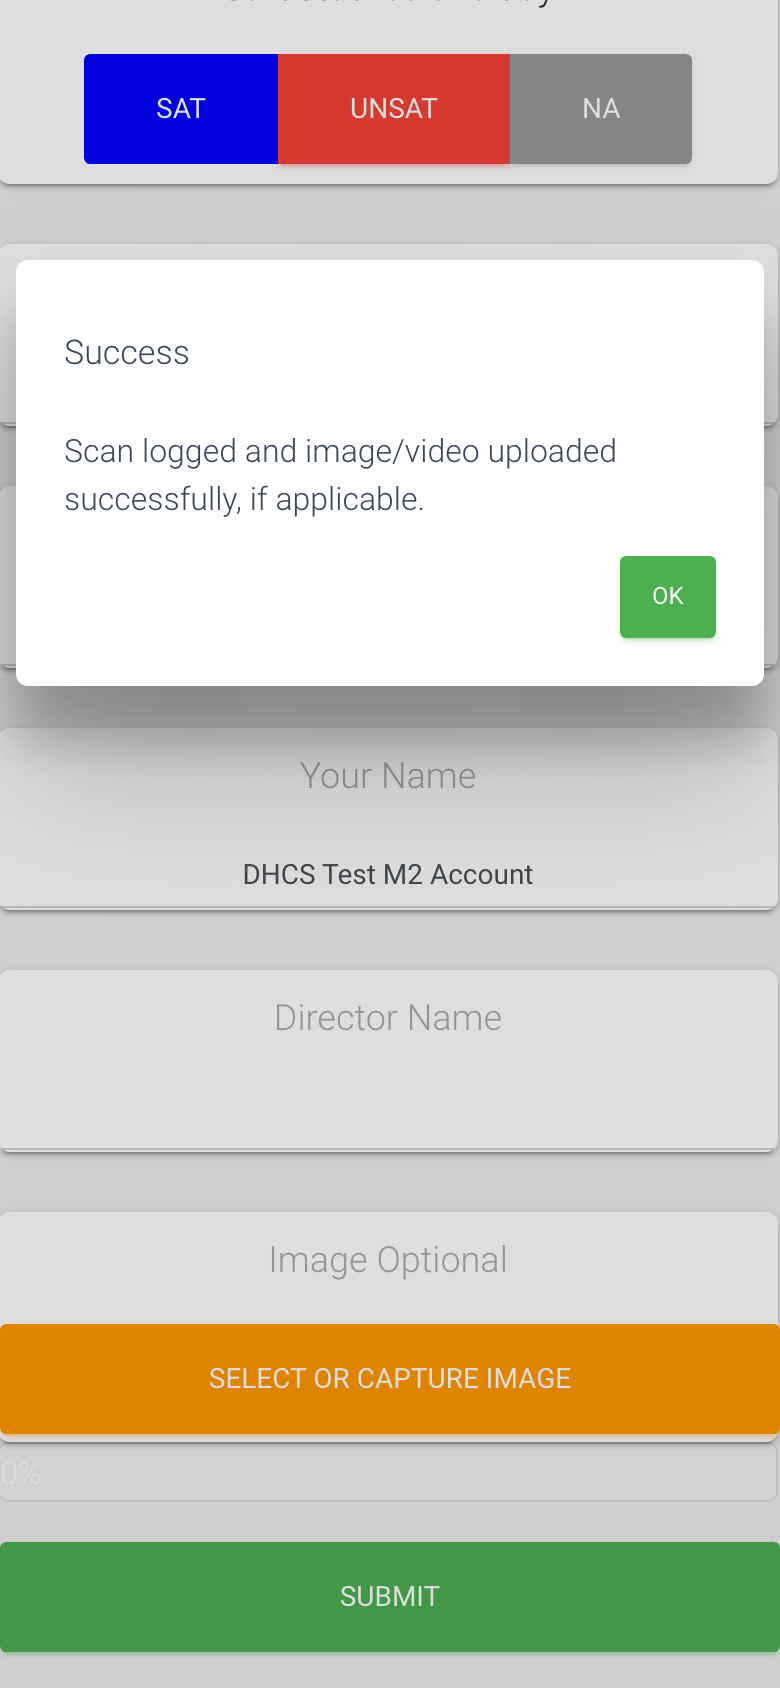
A Success box appears: “Scan logged and image/video uploaded successfully, if applicable.” Tap OK.
Success. Tap OK
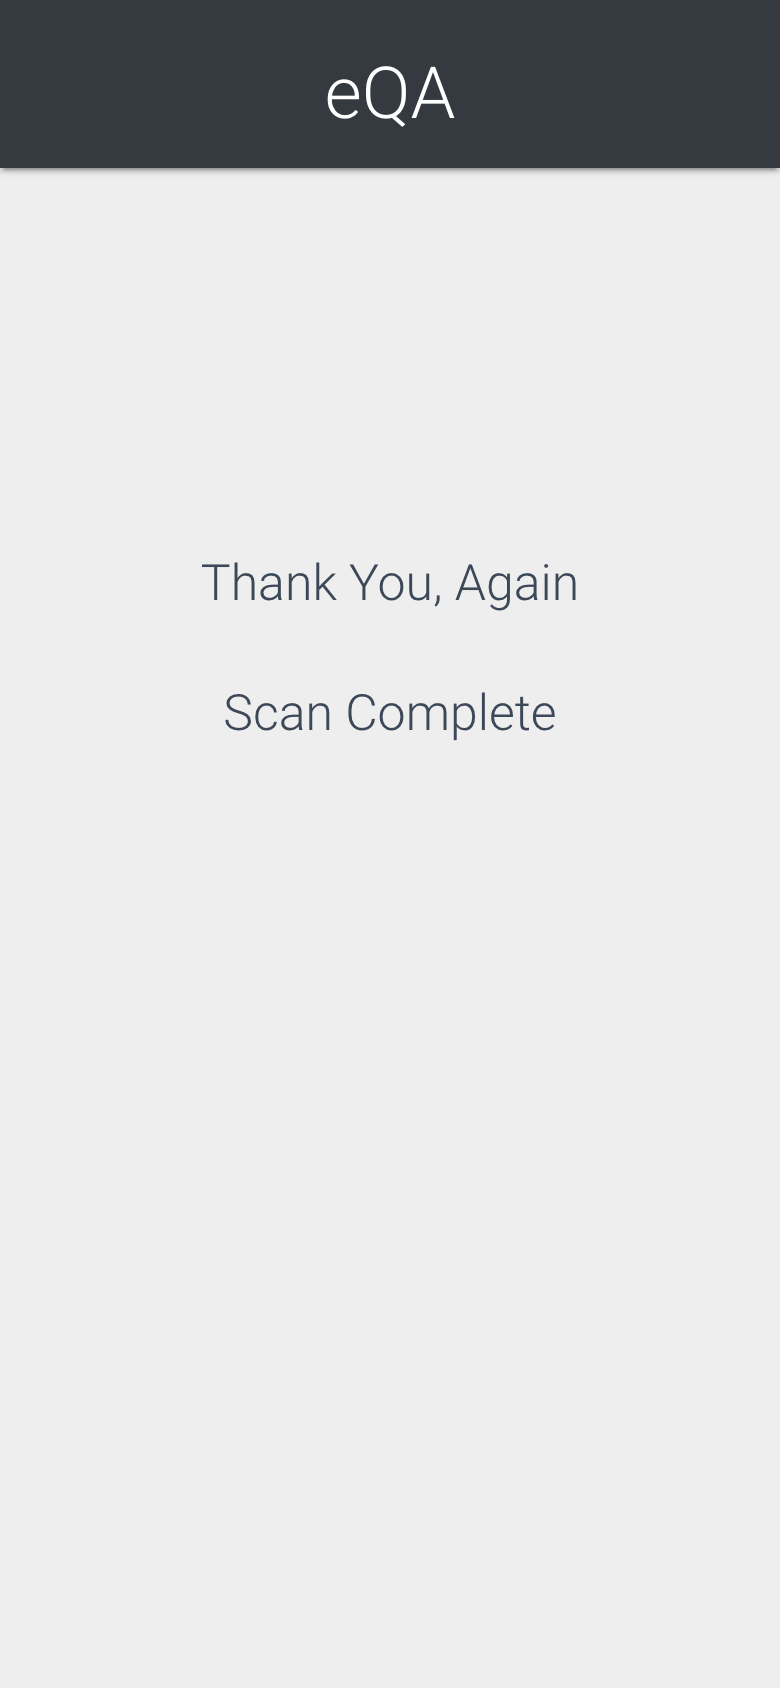
You land on the Scan Complete page. Done. The employee’s Last QA on the Employee List and the dashboards update right away.
The QA is logged
What gets recorded
The employee, the time the form opened and the time you submitted, and how long it took.
Each check with its answer. A check you skip is saved as NA, never as UnSat.
Your note, your ID and name, the director, and the photo or video if you attached one.
Who can do this
Anyone with the employee’s code and a phone. It is meant for M1 accounts and Directors (M2) doing the checking. The form is not tied to a login, so always fill in your own ID and name.
Tips
If the form opens with no checks under the name, the employee has no Standard Title or checks yet. Stop and fix it on the Employee List first (Edit, pick the title, Save Changes).
If the code says “This label has been deleted” or “Everything on this label is turned off”, ask the Director for the current code.
Photos are limited to 10 MB. If a video is too big, take a photo instead.
Tapping Submit twice does not create two QAs. If the Success box does not appear, check your signal and tap Submit again.
Give the check boxes a proper look. Two QAs by the same person seconds apart show up as Fast QAs on the dashboards.