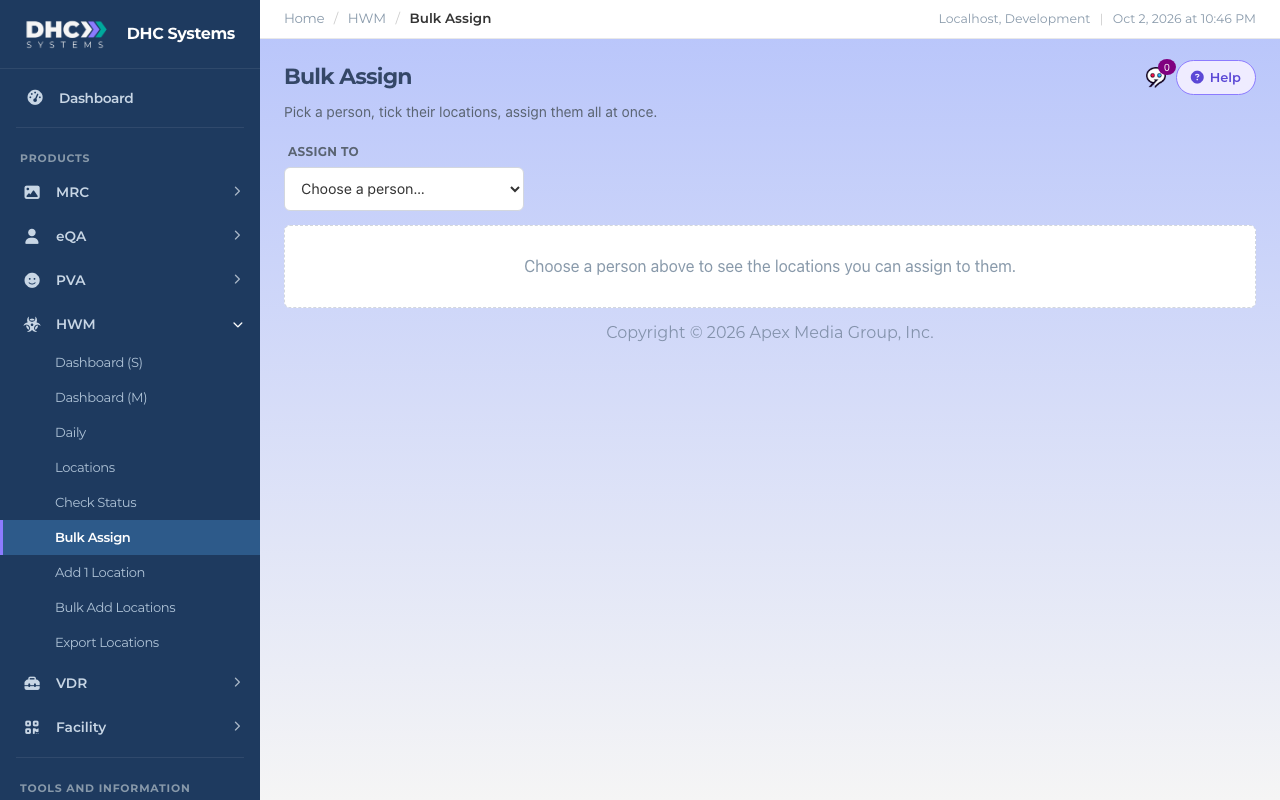
Bulk Assign hands a set of locations to one person at once. Pick the person, tick their locations, click Assign. From then on their Employee ID is already filled in when they scan those codes, and reports show the checks under their name. Open it from HWM, then Bulk Assign.
Start by picking a person
How to assign locations
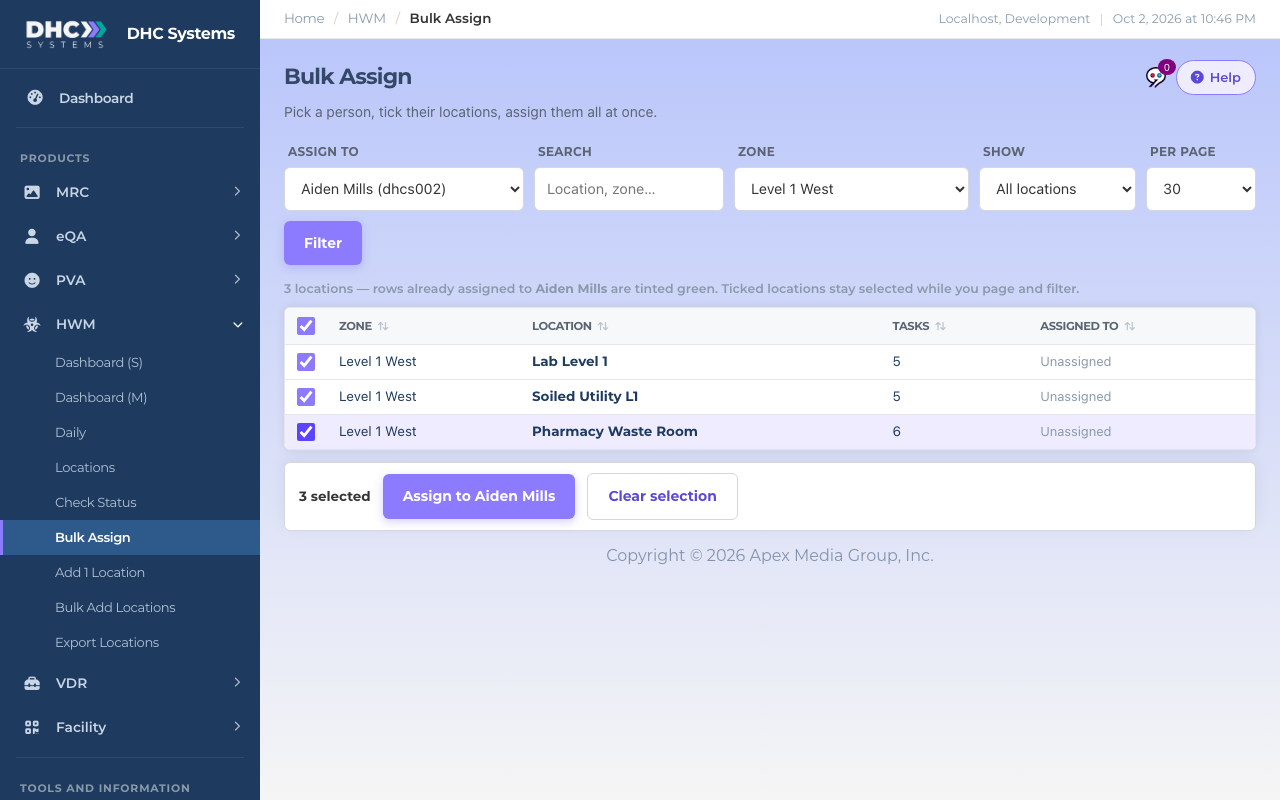
Pick the person in Assign to. The list of locations appears below. Rows already assigned to that person are tinted green.
Narrow the list with Zone, Search, or set Show to Unassigned only, then click Filter.
Tick the locations they should have. The box in the header ticks every row on the page. The count at the bottom (“3 selected”) keeps your total even while you filter or change pages.
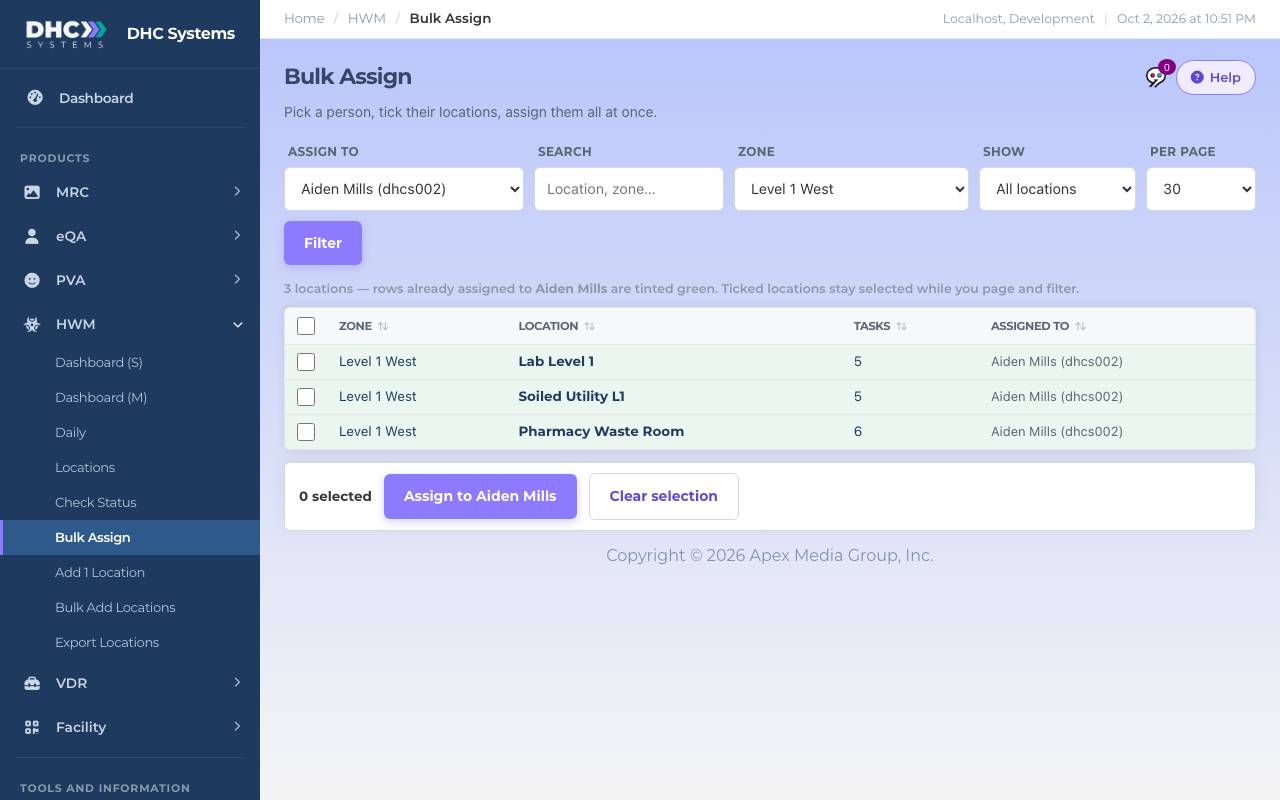
Click Assign to [name]. The button shows “Assigning…”, then the page tells you how many were assigned and takes you to Check Status.
Three locations ticked, ready to assignAfter assigning, the rows turn green for that person
What the controls mean
Assign to: people in your organization who have an Employee ID. Someone without an ID will not appear; add the ID on their user account first.
Show: All locations or Unassigned only. Unassigned only is the quickest way to hand out new locations.
Clear selection: unticks everything, including ticks on other pages.
Assigned to column: who has it now. Assigning a location that belongs to someone else moves it to the person you chose.
Who can do this
Directors (M2) only. M1 accounts can still assign one location at a time from its Edit page. Every assignment is recorded in the activity log.
Tips
Assign by zone. Filter to the zone, tick all, assign. Repeat for the next person.
To take a location away from someone without giving it to anyone, open the location’s Edit page and set Assigned to to Unassigned.
The assignment only pre-fills the Employee ID on the phone. Anyone can still scan the code and type their own ID.