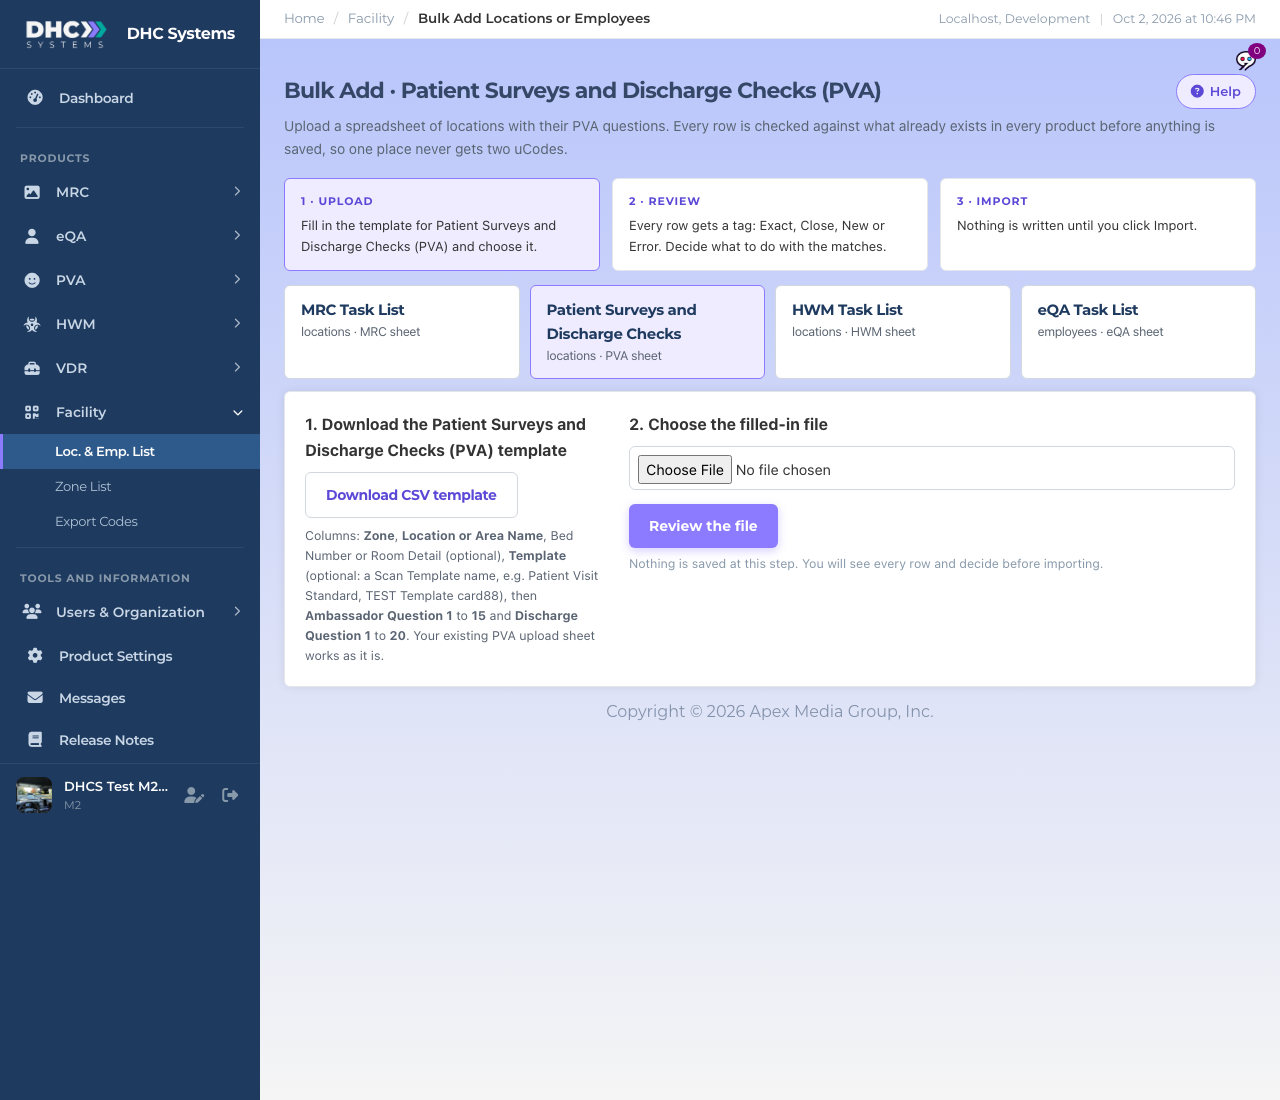
Bulk Add Locations under PVA opens the Facility bulk add page with the PVA sheet already selected. You download the CSV template, fill in one row per room, upload it, review what the system found, then import. The full three step walkthrough (Upload, Review, Import) is in the Facility article “Bulk Add Locations or Employees from a Spreadsheet”. This article covers what is special about the PVA sheet.
Step 1 of Bulk Add with the PVA sheet selected
The PVA sheet
Click Download CSV template. The columns are:
Zone: required. The unit or area. Zones longer than 20 characters are trimmed on PVA, so keep them short.
Location or Area Name: required. The room name, up to 40 characters.
Bed Number or Room Detail: optional. Printed under the name on the uCode.
Template: optional. The exact name of one of your Scan Templates, for example Patient Visit Standard. This is the easiest way to set questions for a whole sheet of rooms.
Ambassador Question 1 to 15 and Discharge Question 1 to 20: optional. The room’s own PV and DR questions, if you are not using a template. Your old PVA upload sheet has these same columns and works as it is.
How to upload
In the sidebar click PVA, then Bulk Add Locations.
Click Download CSV template, fill it in, save it as .csv.
Click Choose File, pick your file, then click Review the file. Nothing is saved yet.
On the review screen every row is tagged New, Exact, Close or Error. For rows without a Template column and without questions, you can pick a Scan Template to apply to all of them.
Click Import. The summary tells you what was created and offers to print the new uCodes.
Who can do this
Directors (M2) only.
Tips
If a row names a Template and also has question columns, the Template wins.
Uploading the same file twice attaches to the existing rooms instead of creating duplicates.
After the import, open Locations and filter by the zone to check the Questions from column.