Sometimes the Checks needed for a particular Employee need to be changed. Sometimes there is a typo, new responsibilities, or a new role.
There is a way to make changes to individual Employees after they are in the system.
NOTE: This does not change the Checks that were already completed, only the Checks that will be completed in the future.
Standard User accounts do not have access to edit Employees. If you do not see “Employee List”, and believe that you should, please let us know. We will work with your company contact to ensure appropriate permissions.
To Edit an Employee in eQA, Short Form:

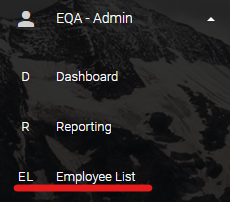
- From the navigation bar, expand the “eQA – Admin” menu, then click “Employee List”
- From the “eQA Employees List” locate the record you would like to edit.
- Using “Search” in the upper right of the table will filter any field for the query
- Once you have located the record you would like to edit, click “Edit” to open “Edit Employee (short form)”
- Clicking “Delete” will remove the record
- Select the applicable “Standard Title”, if you would rather edit each Check individually, click the “Switch to Long Form” button
- Employee Name is not editable
- Employee ID is not editable
- Current Title displays the Standard Title currently assigned to the employee. If the field is empty then no Standard Title is currently assigned.
- Enter any options “Notes”
- Notes will load into the QA and appear to the user that scans the Barcode/QR Code
- Click “Update Employee” to save the changes
The next time a user scans the Barcode/QR Code for this Employee the changes that were made will load for them and attach to the completed QA
To Edit an Employee in eQA, Long Form:
- From the navigation bar, expand the “eQA – Admin” menu, then click “Employee List”
- From the “eQA Employees List” locate the record you would like to edit.
- Using “Search” in the upper right of the table will filter any field for the query
- Once you have located the record you would like to edit, click “Edit” to open “Edit Employee (short form)”
- Clicking “Delete” will remove the record
- Click the button titled “Switch to Long Form”
- Make changes to the following:
- Employee Name = The Name of the Employee that will be QA’d
- Employee ID = The ID of the Employee that will be QA’d
- Task 1 – Task 25 = The checks, or tasks, that should be reviewed by the manager, up to 25 per Employee
- Notes = These notes will load into the Scan and appear to the user that scans the Barcode/QR Code
- Click “Update Employee” to save the changes
The next time a user scans the Barcode/QR Code for this Employee the changes that were made will load for them and attach to the completed QA