Before you can start conducting Patient Visit or Discharge Room Assessment or reporting on anything, you have to get some Locations into the system.
There are three ways to add Locations. You can add them one at a time, you can use the Visit Type List, or you can load 200 Locations in one fell swoop using the Bulk Add Locations process.
We will cover the “Add 1 Location” and “Bulk Add Locations” first, followed by using the Visit Type List towards the bottom of the page.
From the navigation bar, expand the menu, then click “Add 1 Location” to create one Location at a time, or click the “Bulk Add Locations” to load several at once.
Add 1 Location
- You must first be signed into the system
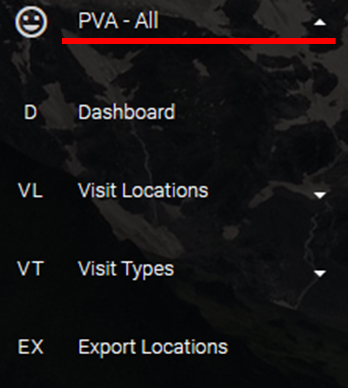
- Expand the “PVA – All” menu
- Click “Visit Locations” then “Add 1 Location”
- Enter a “Name” for the location
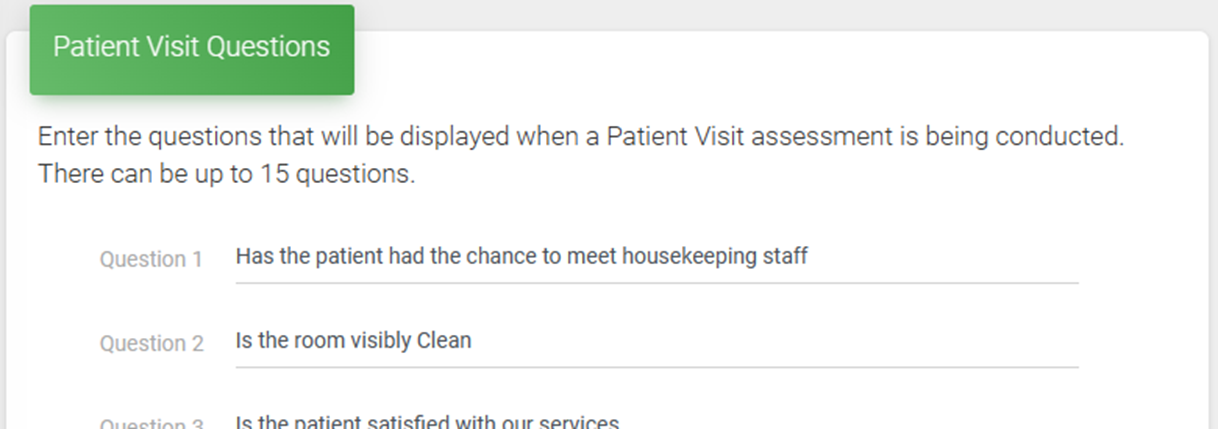
- Enter up to 15 Patient Visitor Questions
- HINT: Use the “Show More Questions” button to display more entry boxes

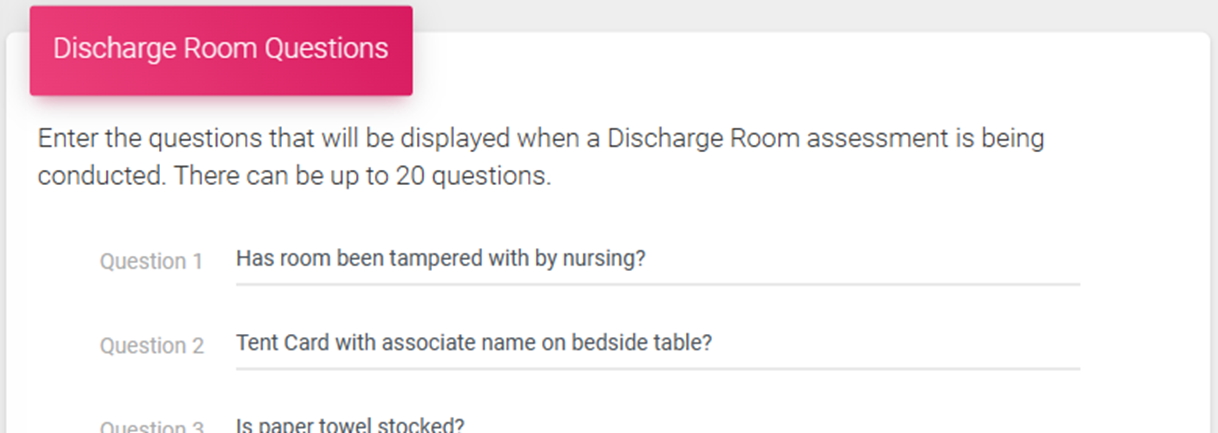
- Enter up to 20 Discharge Room Questions
- HINT: Use the “Show More Questions” button to display more entry boxes

- Optionally, you can add any Notes or Comments that you would like to display at the bottom of the Assessment
- Click the “Create Location” button to add it to the system
- Once the Location has been added, it is available to print the “Export Locations”


Bulk Add Locations
- You must first be signed into the system
- Expand the “PVA – All” menu
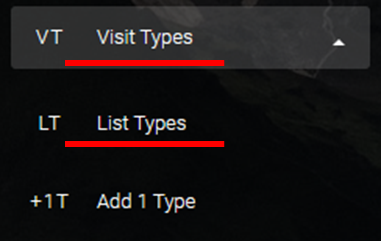
- Click “Visit Types” then “List Types” to check the “Default”
- The “Bulk Add Locations” process uses the default “Type” to assign the Questions, see the process for working with “Visit Types”
- Once you are sure that the correct “Type” is set as the default, click “Visit Locations” then “Bulk Add Locations”
- Follow the on-page steps to first download a fresh template
- Edit the template and save your changes, following the guidance in the “Editing Guidelines”
- Location or Area Name = The Location Name should be clear, concise, and easy to identify where the Assessment, or Survey, is being conducted. For example, “Patient Room 101” or “Maternity Room 101”. The Name will appear on Patient Visit and Room Discharge forms and help when doing analysis in reporting.
- Notes (Optional) = Any notes that should appear when the QR Code is scanned. This is optional.

- Use the “Choose File” button to select the file you just edited and saved
- Click “Upload”
- Once the upload is complete the new Locations, with the default questions applied, are available to print the “Export Locations”


Type List Method
- You must first be signed into the system
- Expand the “PVA – All” menu
- Click “Visit Types” then “List Types”
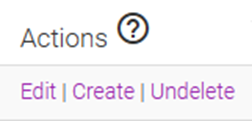
- Click “Create” in the “Actions” column on the row of the applicable Location Type
- Enter a “Name” for the location
- The “Patient Visit Questions” will be filled in automatically based on the selected Location Type, edit as needed
- The “Discharge Room Questions” will be filled in automatically based on the selected Location Type, edit as needed
- Optionally, you can add any Notes or Comments that you would like to display at the bottom of the Assessment
- Click the “Create Location” button to add it to the system
- Once the Location has been added, it is available to print the “Export Locations”