
After the Scans have been loaded into the system, they are ready to be printed and placed around the facility.
Once the barcodes, also known as QR Codes, are in place they are ready for scanning and reporting. Many devices include a barcode scanner on the camera, but if not, any “Barcode” or “QR Code” reader app will work.
Standard User accounts do not have access to Export Scans. If you do not see “Export Scans”, and believe that you should, please let us know. We will work with your company contact to ensure appropriate permissions.
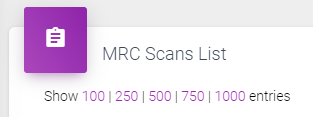
From the navigation bar, expand the menu, then click “Export Scans” to load the MRC Scans List.
We will detail both options below.
How to Export Scans – Print Full Page
- From the navigation bar, expand the menu and click “Export Scans”
- There is also a shortcut from the “Bulk Add Scans” page, just click the “Bulk Export” button there
- Click the “Browser Print” option next to “Print Options”
- When printing from Chrome it may be necessary to expand ‘More Settings’ then check the box under Options for “Background Graphics”
- A full page of the scans to print will open, click the button

- Select your printer and click “Print”
- Once printed, cut each code out and place them in the applicable location, or area
- Note: By default, the most recent 20 Scans loaded into the system will display
- You can show more by clicking the “Show 100…” to show the most recent 100 Scans, 200 for the most recent 200, and so on. The follow the steps above to print.
- You can filter the page to show specific Zones by clicking “Select a Zone”, selecting the Zone, and then clicking “Update Page”
- You can show more by clicking the “Show 100…” to show the most recent 100 Scans, 200 for the most recent 200, and so on. The follow the steps above to print.

How to Export Scans – Download, and/or Print, a PDF File
- From the navigation bar, expand the menu and click “Export Scans”
- There is also a shortcut from the “Bulk Add Scans” page, just click the “Bulk Export” button there
- Click the “PDF Print or Download” option next to “Print Options”
- Please note that the PDF option is available for 50, or less, scans due to the time it takes for the file to be created
- A new page that contains the PDF file will open
- Print is available from the icon

- If “Print” is selected, you will want to select your printer and click “Print”
- Download is available from the icon

- If “Download” is selected, you will want to name your file and choose the applicable location on your computer to save it for printing later
- Once printed, cut each code out and place them in the applicable location, or area
- Note: By default, the most recent 20 Scans loaded into the system will display
- You can show more by clicking the “Show 100…” to show the most recent 100 Scans, 200 for the most recent 200, and so on. The follow the steps above to print.
How to Export Scans – Using a Word Processor (such as Word)
- From the navigation bar, expand the menu and click “Export Scans”
- There is also a shortcut from the “Bulk Add Scans” page, just click the “Bulk Export” button there
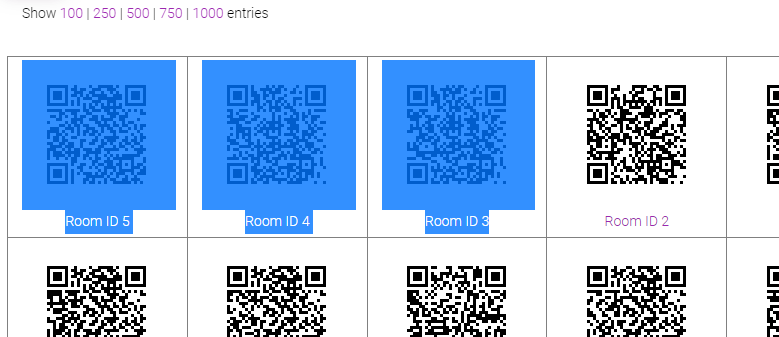
- Highlight the codes on the page by clicking your mouse above the first scan that you want to print. Then drag, while holding down your mouse button, down to the last scan that you want to print.
- In this example, I would be selecting the first three Scans only, but this can work for any number of Scans.
- Copy the scans to your clipboard
- Press the keys “ctrl” and “c” on your keyboard to copy
- Press the keys “control” and “c” on your keyboard to copy
- Right-click your mouse in the highlighted area and choose “Copy”
- Open a blank Word, or other Word Processing program, and paste in the contents from your clipboard
- Press the keys “ctrl” and “v” on your keyboard to copy
- Press the keys “control” and “v” on your keyboard to copy
- Right-click your mouse in the highlighted area and choose “Paste”
- HINT: Depending on the number of Scans you are trying to print, it may be necessary to change the layout of the page to horizontal

- Print from the word processor page
- Once printed, cut each code out and place them in the applicable location, or area
- Note: By default, the most recent 20 Scans loaded into the system will display
- You can show more by clicking the “Show 100…” to show the most recent 100 Scans, 200 for the most recent 200, and so on. The follow the steps above to print.