Once the barcodes, also known as QR Codes, are in place they are ready for scanning and reporting.
Most devices include a barcode scanner on the camera by default, but if not, any “Barcode” or “QR Code” reader app will work. All these devices are supported out of the box. No extra hardware or software needed.
Your device will need an internet connection. Any decent stable WiFi connection or mobile carrier will work.
Scanning the Barcode or QR Code:
- Open the reader app on your device
- This can be the camera with QR code reader built-in or any standalone, free, Barcode/QR Code reader app
- Allow the app to scan the code which will open the default browser on your device
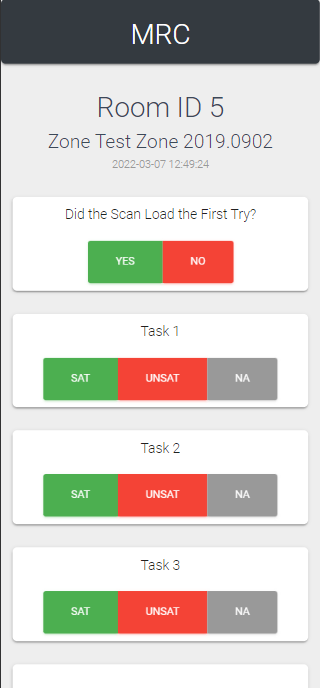
- Complete the Tasks listed, marking them as “SAT”, “UNSAT”, or “NA” if it is not applicable
- Add “Notes” if needed
- Enter your “Employee ID Number”
- Click “Submit”
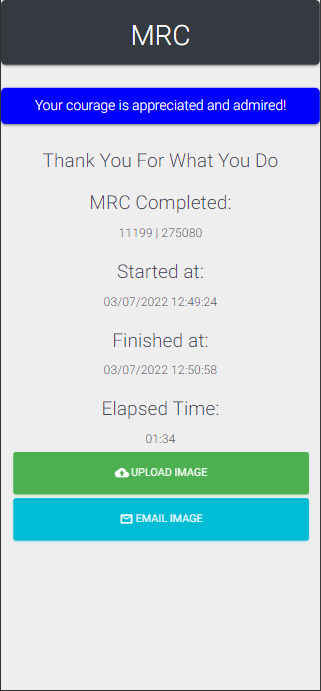
- You can be done here, or proceed to upload an image
- Top upload, click the “Upload Image” button
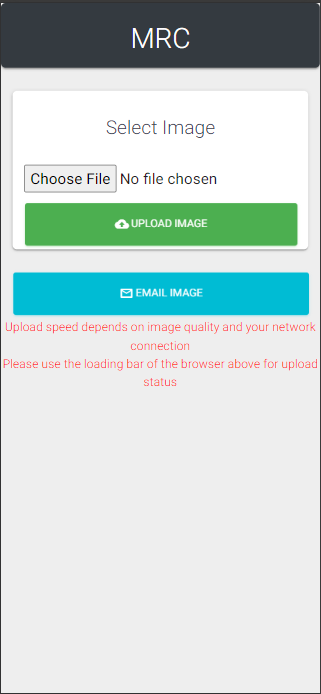
- Click “Choose File”, this will open a dialog on your device
- Take a new photo (this is the most common)
- Select an image from your device
- Click “Upload Image” to send the image to the system and attach it to the scan
- Alternatively, you can “Email Image” to open your default email application. This will automatically add the Scan ID, record and image to an email with the correct destination email address.
- Once you receive the “Upload Complete” message, you are finished uploading and attaching the image to the scan
Below are some screen shots of example screens from the mobile scan.
- The Task List
- Tasks Completed
- Upload Option
- Upload Complete